
The Art of Sourdough Bread: A Beginner’s Guide
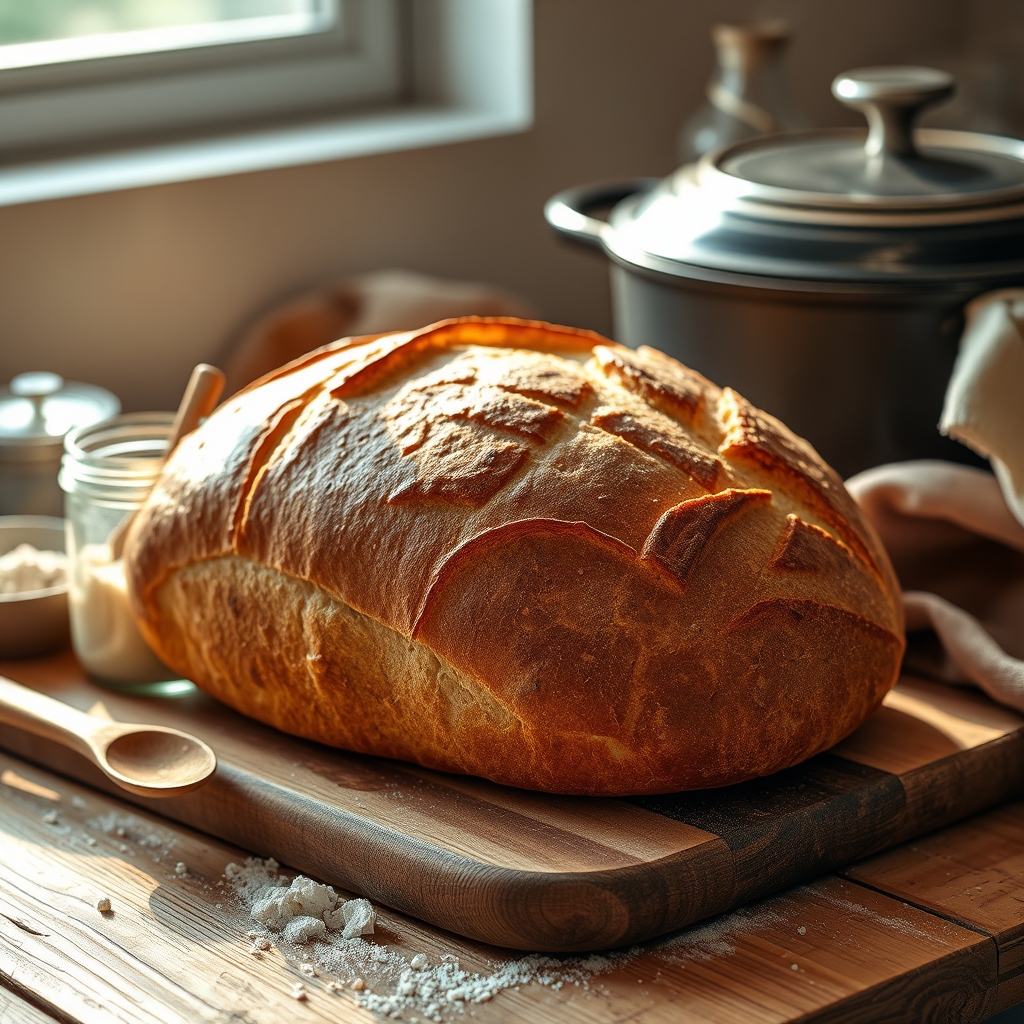
There’s something almost magical about sourdough bread—the way its crust crackles when it emerges from the oven, the tangy aroma that fills the kitchen, and the satisfaction of slicing into a loaf you’ve nurtured from scratch. For many, sourdough is more than just bread; it’s a labor of love, a connection to tradition, and a testament to the beauty of simplicity. If you’ve ever been intimidated by the idea of making sourdough at home, fear not. This guide will walk you through the process step by step, from cultivating your starter to pulling a golden, artisanal loaf from your oven.
The Heart of Sourdough: The Starter
Every great sourdough begins with a starter, a living mixture of flour and water that captures wild yeast and bacteria from the environment. This symbiotic culture is what gives sourdough its distinctive flavor and rise. Creating a starter is simple, but it requires patience. Here’s how to get started:
Day 1: The Beginning
Mix equal parts of whole wheat flour and lukewarm water (about 50 grams each) in a clean jar or container. Stir well until no dry flour remains, then cover loosely with a lid or cloth. Let it sit at room temperature (ideally around 70°F or 21°C) for 24 hours. You may not see much activity on the first day, and that’s perfectly normal.
Days 2-5: Feeding and Waiting
For the next few days, you’ll need to “feed” your starter every 24 hours. Discard half of the mixture (about 50 grams) and add another 50 grams each of flour and water. Stir well, cover, and let it rest. Over time, you should start to see bubbles forming, and the mixture may rise and fall. This is a sign that the wild yeast is becoming active. If you notice a layer of liquid (called “hooch”) on top, don’t panic—it’s just a sign that your starter is hungry. Stir it back in or pour it off before feeding.
Day 6-7: Testing for Readiness
By the end of the week, your starter should be bubbly, have a pleasant tangy smell, and double in size within 4-6 hours of feeding. To test its readiness, drop a small spoonful into a glass of water. If it floats, your starter is ready to use! If not, continue feeding it daily until it passes the float test. Once active, you can store your starter in the refrigerator and feed it once a week if you’re not baking regularly.
Mixing and Kneading the Dough
With your starter ready, it’s time to make the dough. Sourdough is forgiving, but attention to detail will yield the best results. Here’s a basic recipe to get you started:
Ingredients
- 500 grams bread flour (or a mix of bread and whole wheat flour)
- 350 grams lukewarm water
- 100 grams active sourdough starter
- 10 grams salt
Mixing the Dough
In a large bowl, combine the water and starter, stirring until the starter is mostly dissolved. Add the flour and mix until no dry bits remain. Let the dough rest for 30 minutes to an hour—this is called the autolyse phase, and it helps the flour absorb the water and develop gluten. After resting, add the salt and mix thoroughly.
Kneading and Folding
Sourdough doesn’t require aggressive kneading like other breads. Instead, you’ll use a series of “stretch and folds” to develop the gluten. Over the next 3-4 hours, perform a stretch and fold every 30 minutes. To do this, wet your hands, grab one side of the dough, stretch it upward, and fold it over itself. Rotate the bowl and repeat this process 3-4 times. This technique strengthens the dough and traps air, which will give your bread its structure.
Proofing and Shaping
After the final stretch and fold, let the dough rest for another 1-2 hours, or until it has visibly risen and looks puffy. This is the bulk fermentation stage, where the dough develops its flavor. Once the dough has risen, it’s time to shape it.
Shaping the Loaf
Lightly flour a surface and turn the dough out onto it. Gently shape the dough into a round (boule) or oval (batard) by folding the edges toward the center and creating surface tension. This step is crucial for a well-structured loaf. Place the shaped dough into a proofing basket (banneton) or a bowl lined with a floured towel, seam-side up. Cover and let it proof in the refrigerator overnight or at room temperature for 1-2 hours if you’re baking the same day.
Baking for the Perfect Crust
The final step is baking, and this is where the magic happens. Preheat your oven to 475°F (245°C) with a Dutch oven inside for at least 30 minutes. The Dutch oven traps steam, which is essential for achieving a crisp, golden crust.
Scoring and Baking
Carefully turn the dough out onto a piece of parchment paper. Using a sharp knife or lame, make a shallow cut (about ½ inch deep) on the surface of the dough. This allows the bread to expand in the oven. Transfer the dough (with the parchment) into the hot Dutch oven, cover with the lid, and bake for 20 minutes. Remove the lid and bake for another 20-25 minutes, or until the loaf is deep golden brown. Let the bread cool on a wire rack for at least an hour before slicing—this step is crucial for the texture and flavor to fully develop.
As you slice into your first homemade sourdough loaf, take a moment to appreciate the journey. The patience, the care, and the attention to detail have all led to this moment. Sourdough baking is as much about the process as it is about the result. Each loaf is unique, shaped by the environment, the flour, and even the baker’s mood. Whether you’re baking for the first time or the hundredth, the art of sourdough is a reminder that some of life’s greatest rewards come to those who wait.